Email Accounts & Settings
The “Email” section of cPanel gives you plenty of tools for managing every aspect of your email – from adding new accounts and dealing with spam to creating mailing lists and auto responders.

Setting Up an Email Account
To add a new email account to your domain, click on “Email Accounts” to be taken to the following screen:
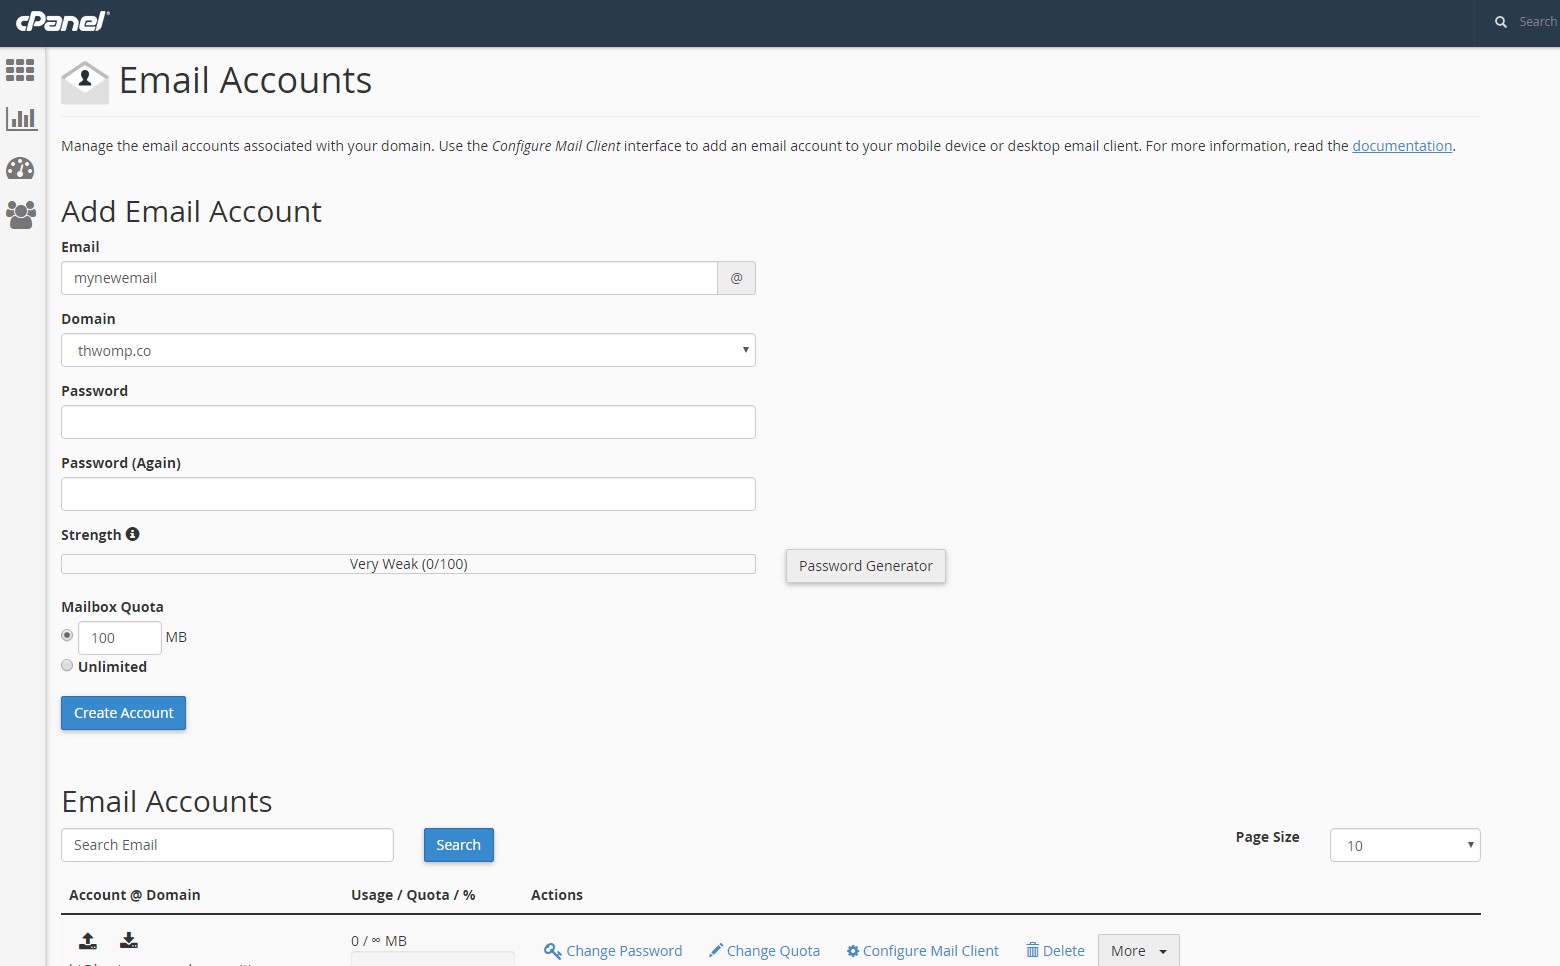
From start to finish, here’s how to get your new account set up:
- In the “Email” field, enter the address you’d like to be reached at – for example, “hello@” or “yourname@”
- Select the proper domain name from the dropdown field. If you haven’t added your domain name to cPanel yet, you’ll need to do that first.
- Create a password – and make sure it’s a secure one!
- Adjust the Mailbox Quota for the account. Remember: emails take up space on your server, so you may not want to give everyone unlimited access.
- Click “Create Account”
Once you’ve done all of the above, you’ll notice that the email you just created has been added to the list of email accounts below:
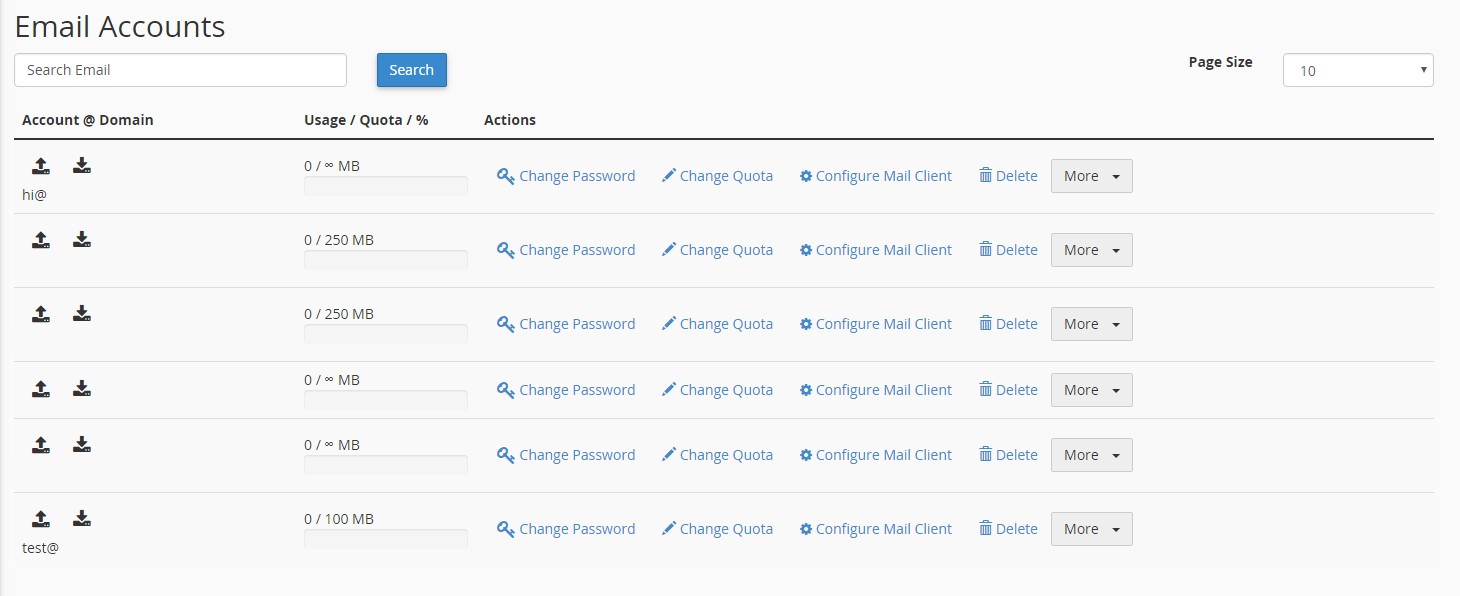
Here, you can manage every element of that account, including the password, quota and mail client.
Accessing Your Webmail
So you’ve set up an email account – how do you get at it?
While we can’t cover setting up a mail client (like Google Apps, Microsoft Outlook or Mozilla Thunderbird) in this guide, we CAN give you a super easy way to get at your webmail.
Once you’ve set up your account, simply go to your internet browser and type in http:// yourdomain.com/webmail, and you’ll be greeted by this screen:
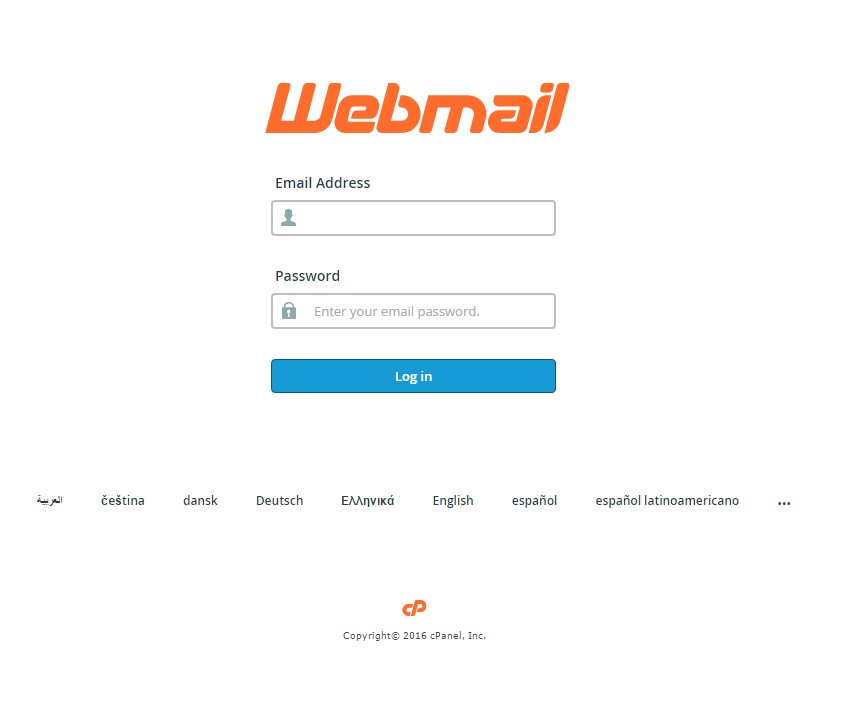
Enter the email address and password you created earlier, and you’re in!
