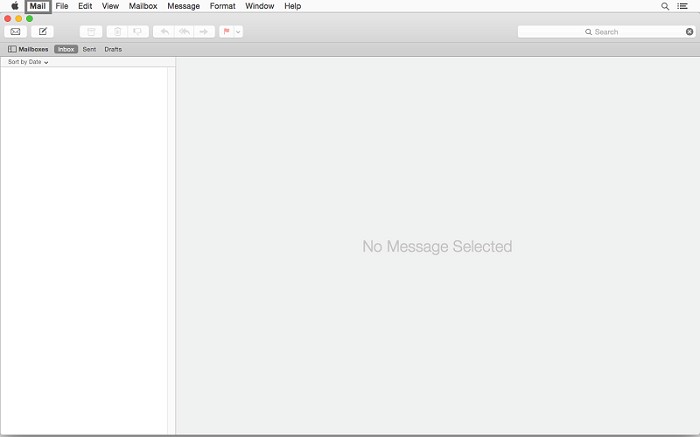
Step 1 - Open Mail
Open Applications and click on Mail.
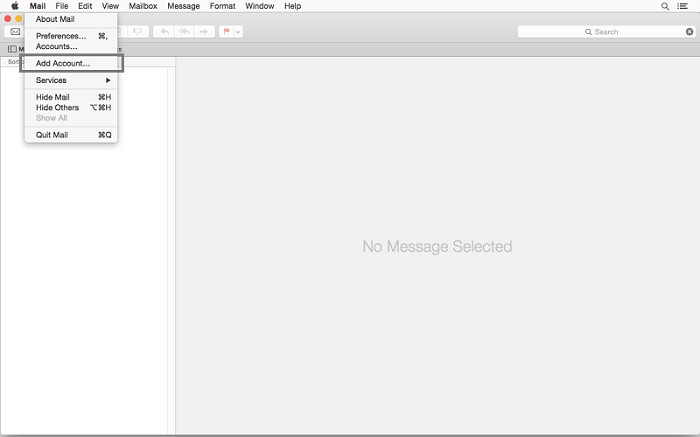
Step 2 - Mail settings
From the top bar click Mail.
Step 3 - Account
Click Add account.
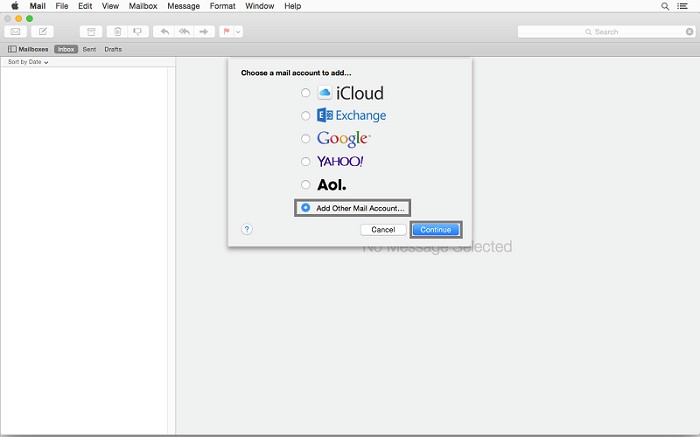
Step 4 - Account type
- Select Add Other Mail Account.
- Click Continue.
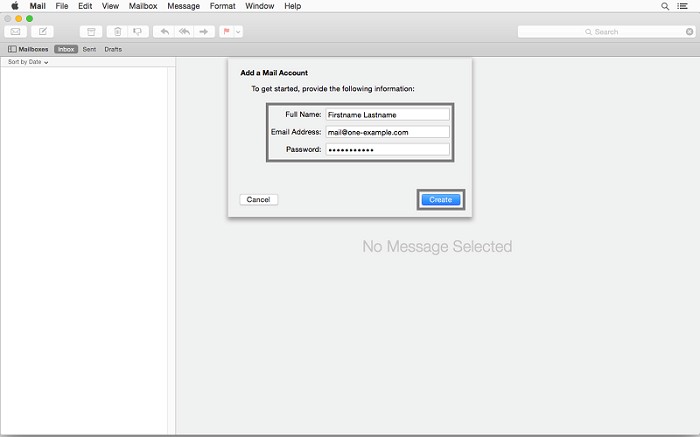
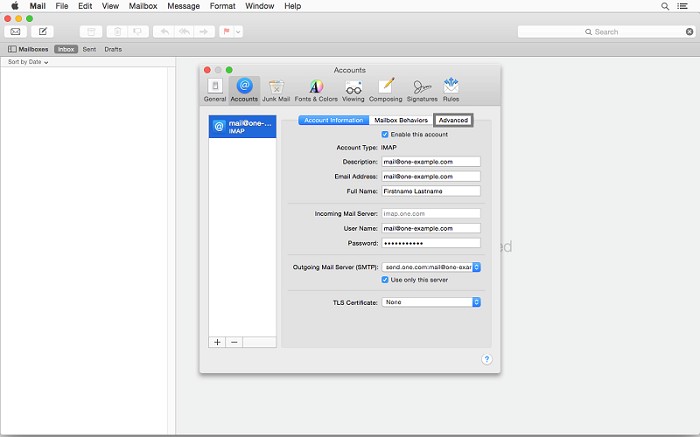
Step 5 - Account information
Enter the following details:
- Full Name, in this example Firstname Lastname.
- Email Address, in this example mail@one-example.com.
- Password it is the password that you created for the email account.
Click Create.
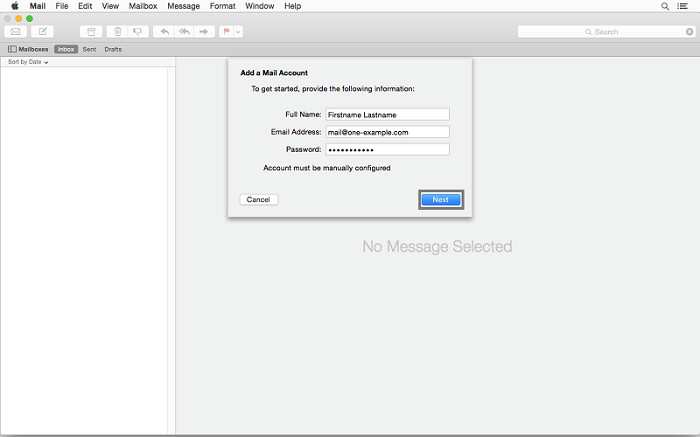
Step 6 - Manual configuration
Click Next.
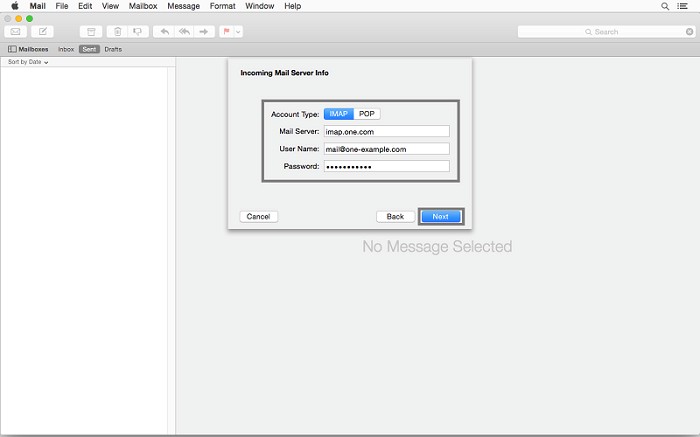
Step 7 - Incoming server
Select IMAP, if not already highlighted.
For Incoming Mail Server info use the following settings:
- Mail Server: imap.one.com
- User Name: Enter your email address, in this example mail@one-example.com.
- Password: Enter your password, that you created for that email account.
Click Next.
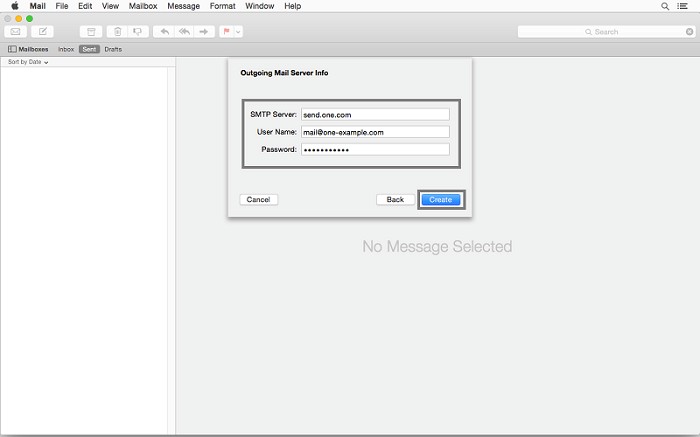
Step 8 - Outgoing server
For Outgoing Mail Server info use the following settings:
- SMTP Server: send.one.com
- User Name: Enter your email address, in this example mail@one-example.com.
- Password: Enter your password, that you created for that mail address.
Click Create.
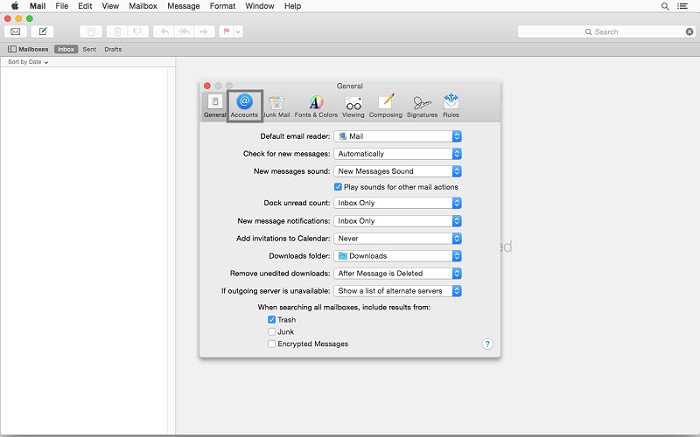
Step 9 - Mail settings
From the top bar click Mail.

Step 10 - Preferences
Click Preferences.

Step 11 - Accounts
Click Accounts.
Step 12 - Advanced
Click Advanced.
Optional: In the dropdown next to Outgoing mail Server (SMTP) click Edit SMTP server list and check that the SMTP server is using port 465 or 587 with SSL.
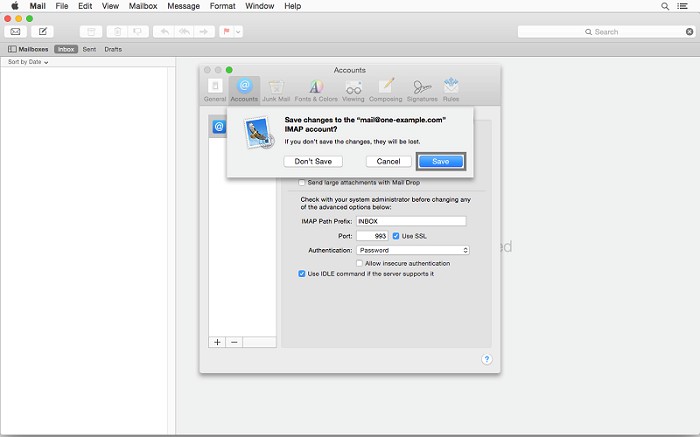
Step 13 - IMAP path and incoming port
- For IMAP Path Prefix enter INBOX.
- Change the Port (incoming) to 993.
- Exit the window by clicking the red dot in the upper left corner.
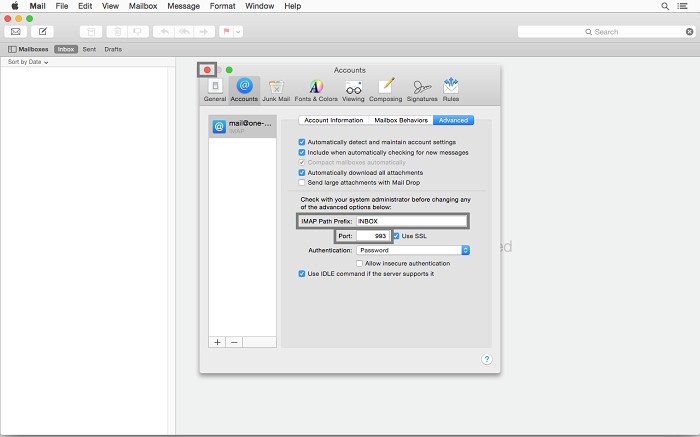
Step 14 - Save changes
Click Save.