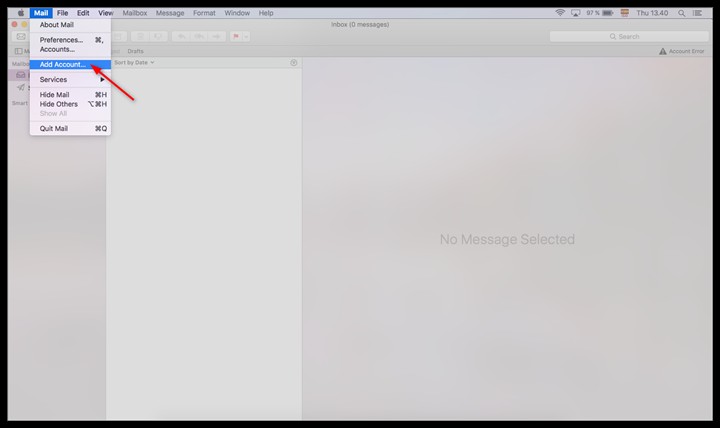
Step 1 - Click Mail > Add Account
1. Open the Mail application on your Mac.
2. Click Mail in the top left corner and select Add Account....
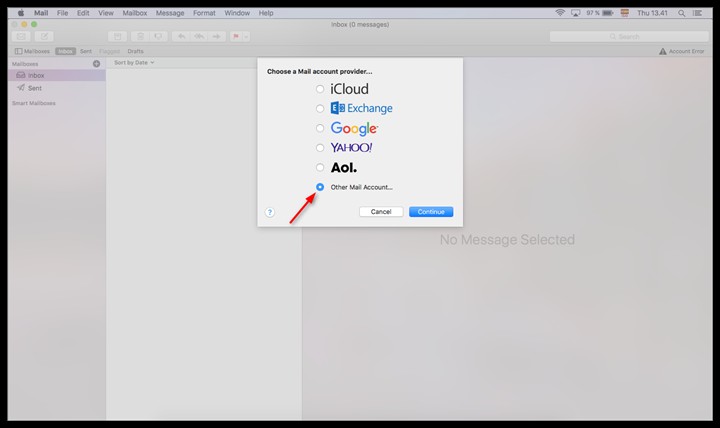
Step 2 - Select an account type
Select Other Mail Account... and click Continue.
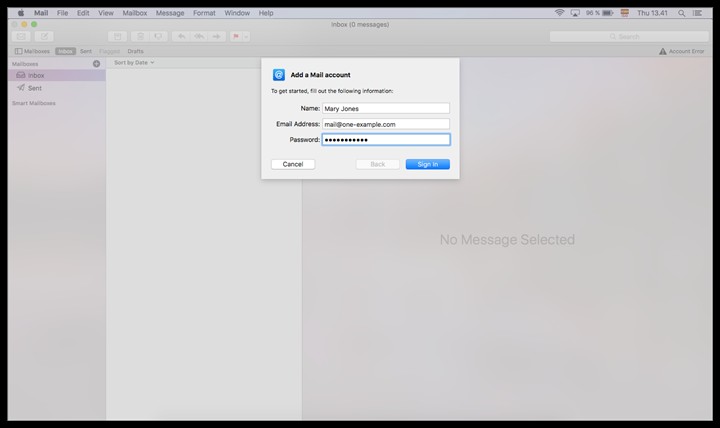
Step 3 - Enter your account details
- Type in your name, it will be visible as the sender.
- Enter the email addressyou want to set up.
- Enter the password, you also use it for Webmail.
- Click Sign in.
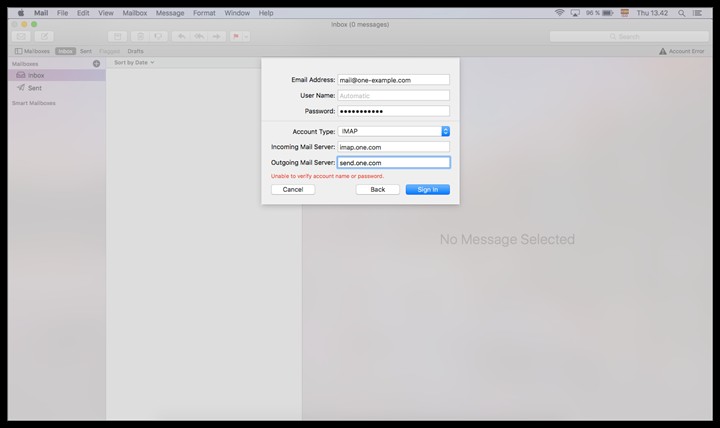
Step 4 - Enter mail server settings
You will now see a red error message, just ignore this.
Enter the following server settings:
- Account type: IMAP
- Incoming Mail Server: imap.one.com
- Outgoing Mail Server: send.one.com
Click Sign in.
Step 5 - Select only Mail app
Uncheck the box for Notes, so only the Mail app is selected, and click Done.

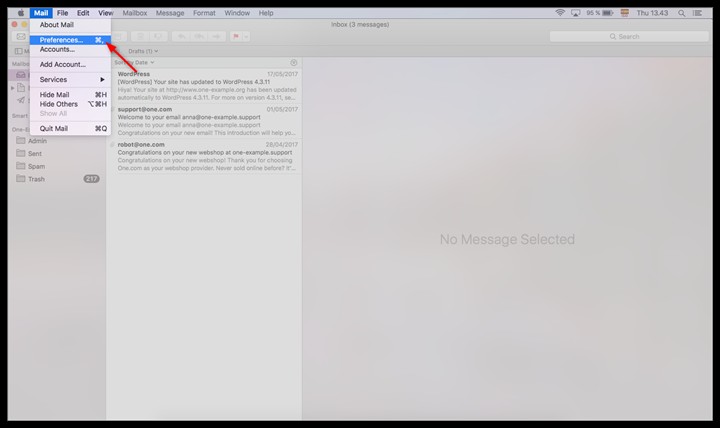
Step 6 - Go to Mail > Preferences
Click Mail in the top left corner and select Preferences....
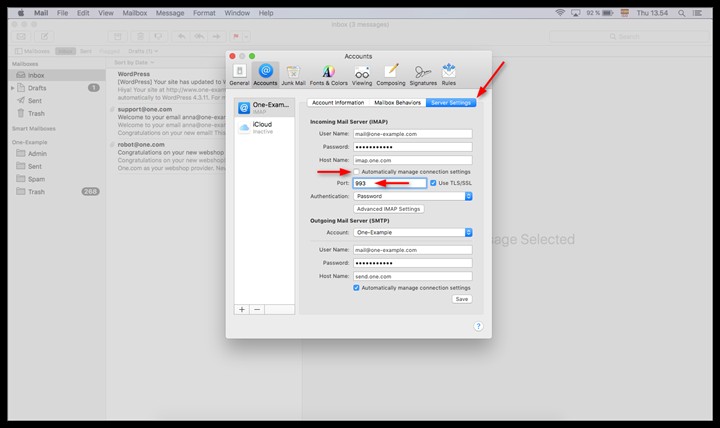
Step 7 - Change incoming server port
- Go the the tab Server Settings.
- Under Incoming Mail server, uncheck the box for Automatically manage connection settings.
- Change the portnumber to 993.
- Click Save.
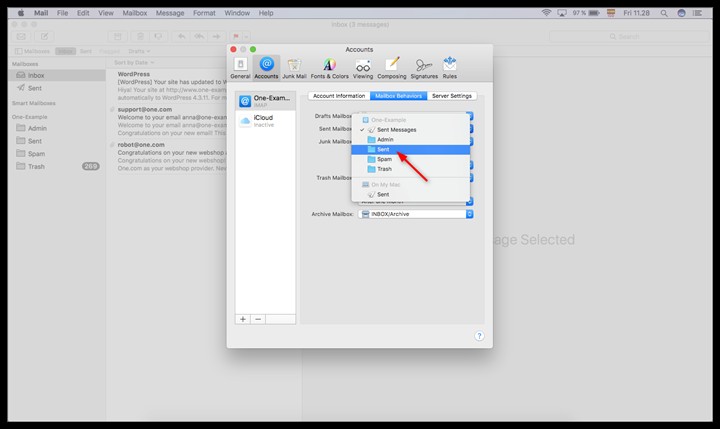
Step 8 - Set correct sent and trash folders
By default, Mail selects the wrong folder to save your sent and deleted emails, so you need to manually change it to the correct folders.
- Go to the tab Mailbox Behaviors.
- Click the Sent mailboxand change the folder to Sent, @ your email account.
- Click the Trash mailboxand change this folder to Trash, @ your email account.
Note: Mail OS X may not be able to detect IMAP folders that are empty. If the correct folder is not available, log in to Webmail and place an email in the folder. Then try again.
Step 9 - Check Mailbox Behaviors
In the end your settings in the Mailbox Behaviors tab should look like in the screenshot below.
The INBOX prefixes will be added automatically.

